
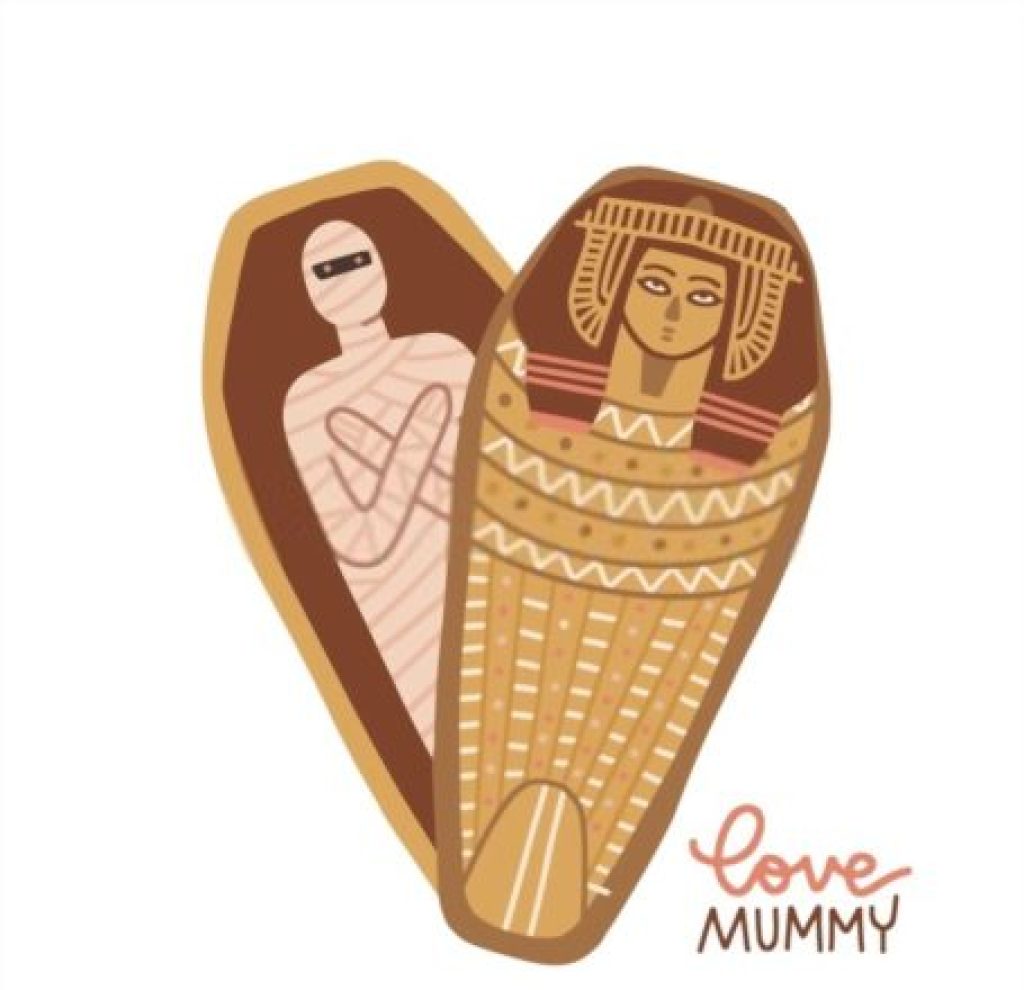
The concept of making a coffin out of a shoebox is not new. It has been done before, and it can quickly be done today. A sarcophagus is a coffin-like structure that encloses and supports the remains of a deceased person within their tomb or burial chamber. These would have been initially created by dry mummification when people first became acquainted with death.
Still, they later came to serve as receptacles for human remains in some societies after they had ceased to be an exclusively funerary art form. Sarcophagi themselves, which can take various forms and be made from multiple materials, have been found in Italy, Egypt, Greece, and the Near East.
As the coffin was never reused in many cultures, there is no reason to fear making one today. The process will cost you nothing but your time, it takes around 30 minutes to construct, and anyone can do it with simple materials. The design is easily printed on paper, and you can use as many or as few sheets of the article as you want, depending on how large your coffin needs to be. Even though the paper is flimsy and light, you will be pleasantly surprised to know that it is pretty sturdy and serves as a perfect material for a casket.
What is a Sarcophagus?
A sarcophagus is a box-shaped container for interment, typically carved from stone or often decorated with reliefs. They are usually the mausoleum type structure composed of one large block of rock in the center and four smaller blocks around it. It was traditionally used to entomb the bodies of the deceased until about the 4th century AD, when deeper caves, catacombs, vaults, and underground chambers replaced them in Western Europe.
The term also refers to an elaborately decorated wooden case used as a coffin during the Han Dynasty (206 BC–220 AD) and later periods in China; these were frequently made out of gilt-bronze or painted wood—both costly materials.
How To Make a Sarcophagus out of a Shoebox?
The ancient Egyptians practiced mummification, which involved wrapping the bodies of the deceased in fabric and preserving them for their journey to the afterlife. Mummies were interred in tombs, generally with some of the deceased’s most prized items. You may teach your children about ancient Egyptian tombs by constructing a basic imitation out of a shoe box and other craft supplies. Building your own tomb is an intriguing way to learn about ancient people’s traditions.
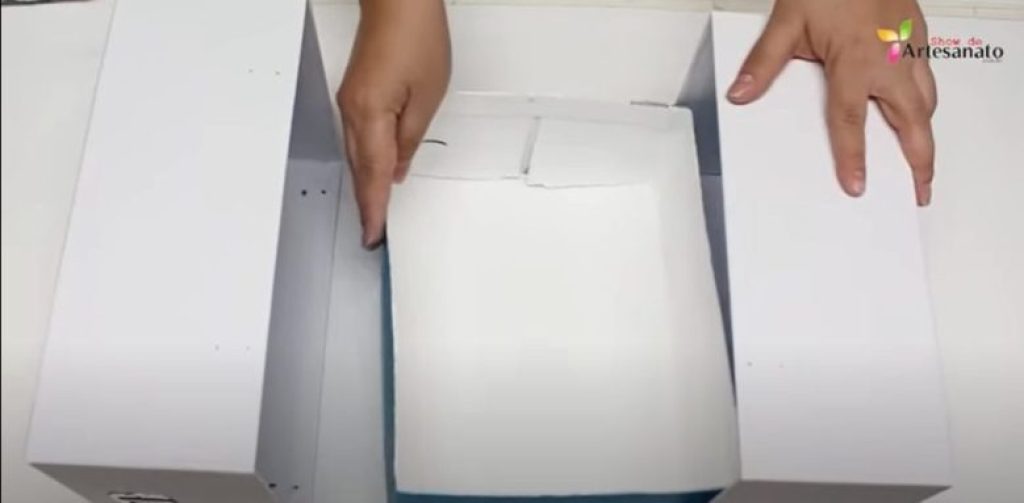
Step 1: Make the Box Flat
Dismantle the shoe box by pulling or slicing adhesive seams apart and folding the cardboard flat. It is still possible to utilize the cardboard if it tears at the seams.
Step 2: Look for the Mummy
Place the mummy, doll, or figure along with the shoe box’s old bottom panel, with the figure’s feet touching the narrow side flap. Trace around the figure in a loose circle, imitating the shape of many ancient Egyptian coffins. Keep the edges of the mummy figure reasonably straight and the head area slightly rounded; the traced shape should allow at least 1/2 inch room all the way around. Note: This will be more than a 1/2-inch margin for a figure with long arms. The shape of the mummy will define the shape of the top.
The shoebox bottom panel should have a vertical rim near one end and a horizontal edge (which you can use to trace around) at the other end. This provides a perfectly straight line to divide your initial circle into three sections: head, chest, and waist. (One division is usually enough for most figures, but Aunt Bertha could use 3.) The first division is made between the two rims; this is the skullcap.
Then place a ruler on your drawing board and measure along your lines to divide the torso accordingly. The second division is in half-inch increments from there. The third division is about the same distance from the middle of the chest as the spacing between the torso’s legs. The last division, which may or may not be necessary, starts at waist level and is about an inch lower than your waist. It should be marked on your paper as “waste space” (or “thigh space” if you’re making a thigh-high mummy).
A note on proportions: In ancient Egypt, this space division only applied to men; women had different standards for how much space they needed in their coffins (and often had more than two bodies placed in them).
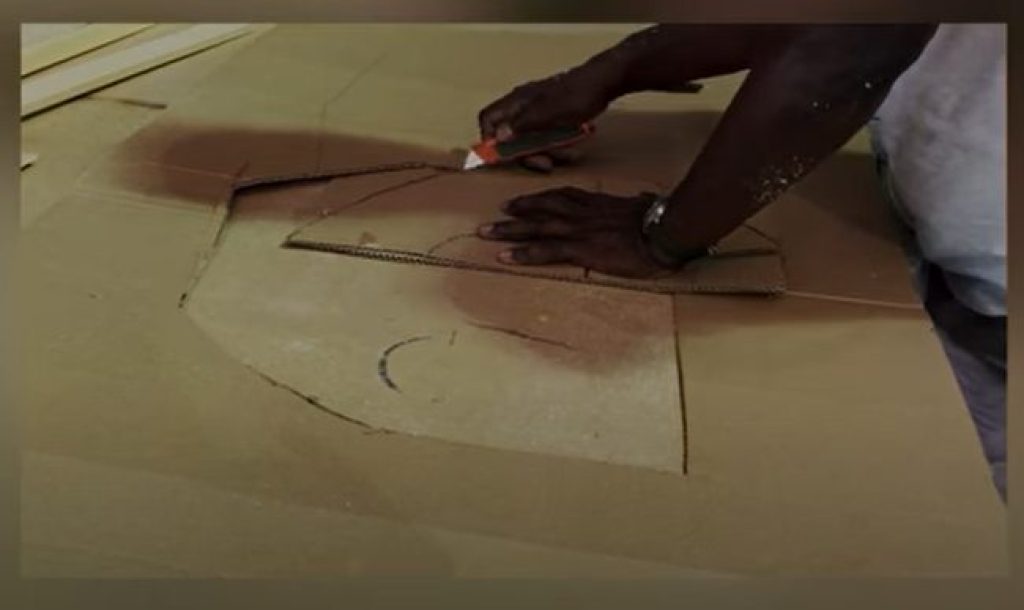
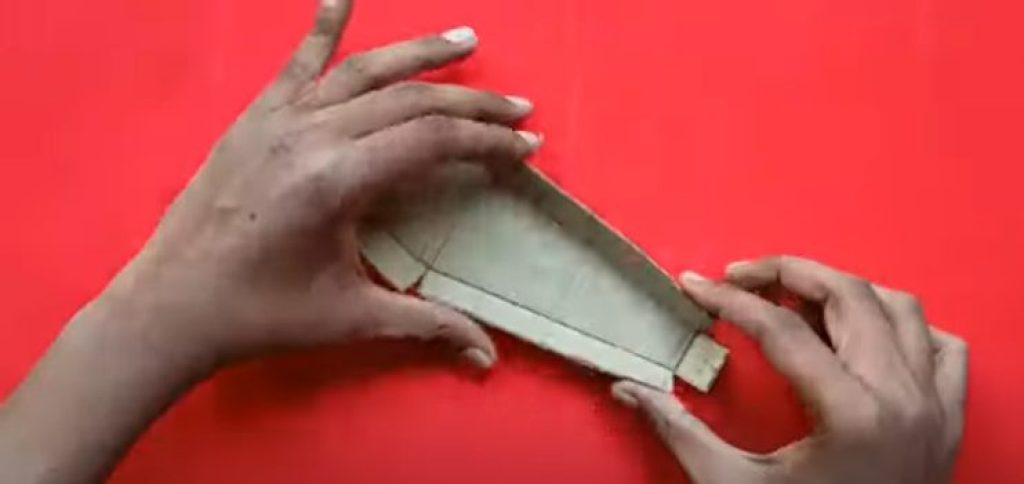
Step 3: Cut Out the Shape
Cut out all the traced shapes, leaving the flat bottom at the feet linked to the flap that used to be a thin side of the box. It is essential to ensure that you cut out a base so that the TV can stand, but also because if you didn’t, the shoebox would end up sitting on its head.
Next, you attach the flaps. This is an important step: you must link them securely enough to prevent the shoebox from collapsing. First, line up all your flaps to be at right angles to each other and face the same way. Sandwiched between them should be a thin layer of brown paper (which used to be the bottom of the box). Make sure that all your flaps are stuck flat, and cut off the excess piece if necessary.
Then, glue a small strip of brown paper to the flaps. Now your flaps are linked and will not collapse in on themselves, and you get to go outside for a fag break.
Step 4: Cut Out the Sides
From what’s left of the box bottom, cut out the two former side panels — the long sides. Cut them along the seams where the bottom of the box meets the seams.
Then, cut a line on each of these two panels to be approximately half as wide. These will be the top edges of the sides of your coffin. Be sure to cut up to where you’ve just doubled the width, and then measure in about 1.5 inches from each edge. The distance in between will be your flap for seeing into/grabbing things from inside your coffin.
Once you have the shape for your box, you’ll notice that all it needs is aback. If you like, though, you can leave it open. That’s what I decided to do. Cut off the excess at the top and two sides. If there’s anything leftover (besides 1/2″-1″ of a bottom), then just set that aside — you’ll use it later to make legs or feet!
Step 5: Prepare for Assembly
On each long side panel, bend one long edge inward 1/2 inch, then do the same on one of the two short sides. Flatten the cardboard again and cut a fringe-like design up to the new folds every 1/2 inch. The final casket is held together by the fringe. These fringe pieces are meant to be used in addition to the duct tape, and the design on the side pieces is only decorative!
Simply cover the coffin with blanket/towel wrap (like plastic) on all sides, and fold together all four sides of the casket. The bottom edge is permanently taped. The assembled casket should be about 12 inches tall and 16 inches long by 8 inches wide. Making one large box at once isn’t a big deal; however, dividing it up into two or three compartments doesn’t make sense since they will be too small to use as an actual coffin. Also, the tape will overlap with the design a little, but that doesn’t matter.
Step 6: Start Shaping the Sarcophagus
Fold the flap up along the area marked as the coffin’s foot — this is still in place due to the box’s original shape. As if reassembling a shoebox, place one long piece of cardboard vertically next to the flap. The long edge that isn’t fringed should be facing up. Tape the cardboard fringe to the box’s interior, at the foot, on the vertical piece. Repeat with the other fringed cardboard piece. The fringed edges should be facing one another on the box’s interior.
Form the cardboard pieces into a rectangle, wrapping them on each side with tape. Fold the sides inward to minimize air gaps and form a solid outer edge. Tape the sides of both pieces together until you have created a whole rectangle with no holes — this is where you will place your lid (the shoebox lid). Make sure that both ends are appropriately shaped to create a flat rectangle. Allow for about three inches of excess cardboard on each side of your coffin or casket — these will be used later as handles to move your mummy or sarcophagus.
Step 7: Finish the Coffin Shape
Bend each of the cardboard side walls to fit the bottom of the mummy cut out such that the short fringed edge bends and conforms to the flat vertical edge at the mummy’s foot location. Tape the fringed tabs to the casket’s bottom, either inside or outside, according to your preference. To complete the coffin form, bend the two cardboard pieces around the head area of the coffin and tape them together. This is an excellent time to reinforce the sarcophagus by making a cardboard lid. Measure your coffin’s height and width, add an inch for sewing and trimming, and cut out two pieces of cardboard to fit.
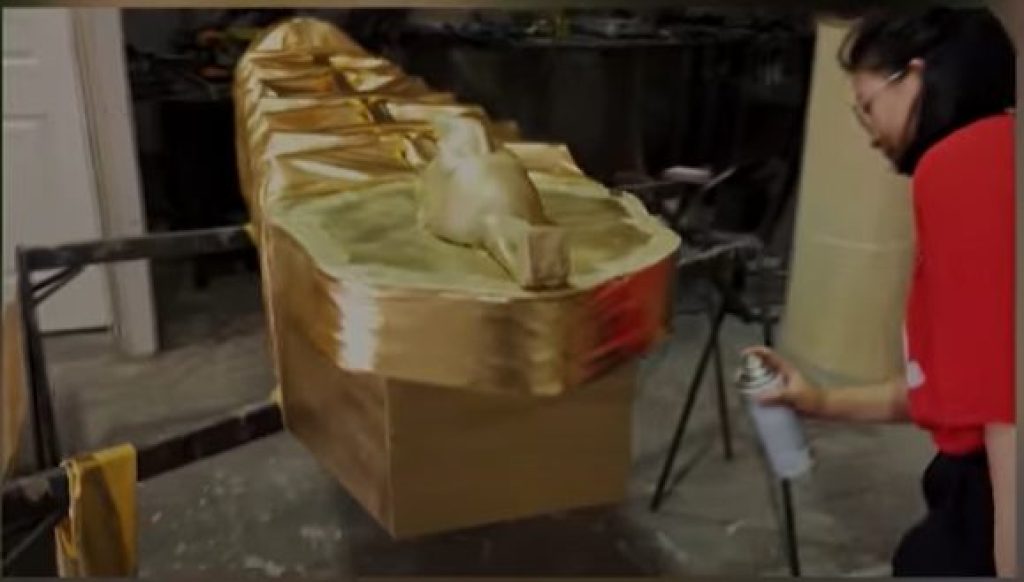
Step 8: Decoupage the Coffin and Make a Lid
Bend each piece of the cardboard sidewall to fit the bottom of the mummy cut out such that the short fringed edge bends and conforms to the flat vertical edge at the mummy’s foot location. Tape the fringed tabs to the casket’s bottom, either inside or outside, as desired. To complete the coffin form, bend and tape the two cardboard pieces around the head area of the coffin. If the cardboard pieces are taped along each side of the coffin head, wrap the cardboard around the sides like a present.
Tips for Make a Sarcophagus Out Of A Shoebox
It’s no secret that the average American household has a lot of stuff, especially if you split it among just two people. It’s also no surprise that we’re outgrowing our shoeboxes, and our storage options are starting to reach their limits. So how do you know how to make a coffin out of a shoebox? Here are five quick tips for making your next DIY project go smoothly, no matter its size or shape.
Make Sure it Fits inside Your available Space
Before getting to work, be sure that your shoebox is big enough to hold all the stuff you want to put inside. If your empty shoebox is too small, be sure it has enough room for the things you would like to store. This simple guideline can save you a lot of time and heartache by allowing yourself extra storage space.
Use a Shoebox with Legs
To make a box fit into the available area of your home, it needs to have enough room so that the sides and bottom can fold up and down without interfering with where they are supposed to go. This can be a problem with flat shoeboxes. A good solution is to use a shoebox with legs so that it is higher up and has the space for folding without hindrance from other objects.
Measure Twice, Cut Once
Measure out the dimensions for your DIY project before you cut or drill into anything, or else you might find yourself having to undo what you have done. This is especially important when cutting because sometimes an extra centimeter is all it takes to fit in the allotted area and be safe from bumping into other things nearby that can get damaged in the process of putting the project together.
Use the Right Tools
Your shoebox project will go a lot smoother if you have the right tools. If you have no box cutter to open the box without damaging it, picking out something else with pre-established hinges or thinner material may be your only other option. You can also use a sharp pair of household scissors. In addition, using a jigsaw or hand saw, depending on your woodworking skills, is always better than trying to cut with a kitchen knife.
What Material Makes a Sarcophagus out of a Shoebox?
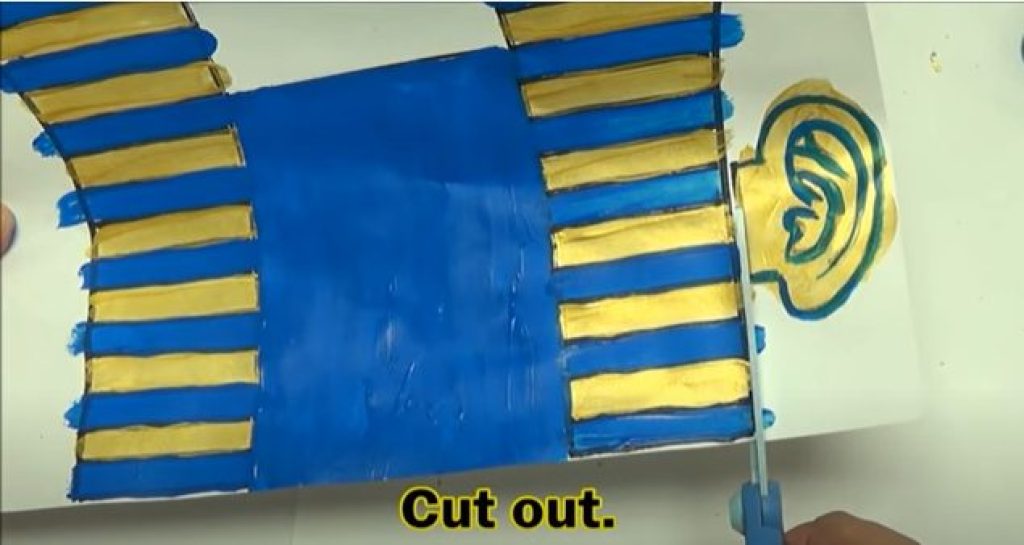
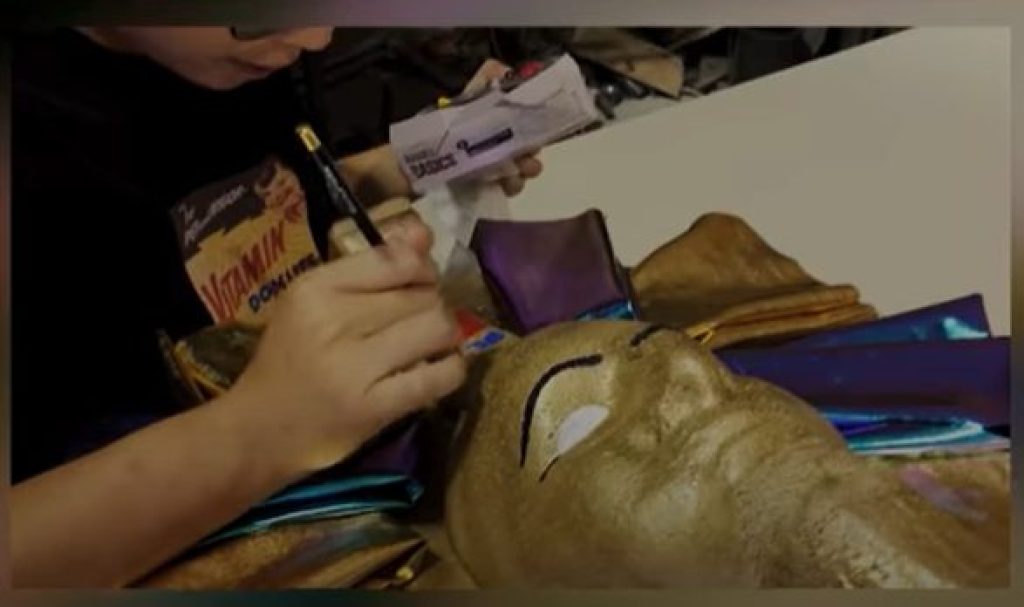
You will need a shoebox. Cut two holes on either side of one of the long sides and two spots, set slightly lower, on the other long side. Then cut out a rectangle at least 3-inches wide and 2-inches high from the top of both short sides and fold them over to form a lid. You are ready to decorate your new sarcophagus! The type of decoration you want to do is up to you. Some suggestions include painting it with tempera paint or constructing embellishments made of cardboard or paper. Your friends or family might enjoy helping you.
Once you choose a design, start at the bottom and work your way up. Start painting the lid first with any color you want. Then paint the box’s sides white by dipping it in water and then painting it one color at a time with a paintbrush while wet. Then let dry before using the same method to paint another color on top of it. Continue this technique until your sarcophagus is complete.
You can also make your cardboard decorations by cutting out shapes to fit inside the box after painting over them with tempera paint or oil-based paints. Another design idea is to turn the lid into a pyramid shape by cutting two of the top corners at an angle. You can then paint the cover in four colors: one for each corner. When your sarcophagus is complete, set it on a small table and add furniture around your house to further decorate it. You could use chairs, lamps, vases, and even pillows for added detail.
FAQs
Why do Egyptian coffins have eyes?
The eye of Horus, found on the exterior and interior of coffins, was meant to represent the god’s power to see into both the heavens and earth. The interior of this sarcophagus can be seen here. The exterior is elaborately decorated with hieroglyphs about the person’s life.
Why is it called a sarcophagus?
A coffin-shaped container for a dead body is called a “sarcophagus” from Greek Σάρξ, Sárx (“flesh”) and φαγεῖν, Pharéin (“to eat”), because the flesh will decompose or ‘eat itself.” Brief History of the Sarcophagus: The ancient Egyptians were the first to use sarcophagi. At first, they were made with wood, but by the time of the 18th Dynasty, they had been replaced by stone. These caskets have a rectangular shape with rounded corners and are mostly decorated on the outside.
What is the difference between a coffin and sarcophagus?
A coffin is a narrow, rectangular box often made of wood or metal and set above the ground for burial. A sarcophagus defines its form as a bottomless, sometimes rounded pit filled with loose stones or rubble to protect and conceal the corpse from view.
A casket can stand alone as a proper lidless receptacle for burial, but this is less common than using them to enclose a tomb. A coffin might also be used to cover another object, such as the remains of an animal, so that it may be buried with them.
What is the most famous sarcophagus?
The sarcophagus and tomb of Tutankhamun are among the most spectacular ever seen. He was laid to rest in a succession of three golden coffins, one nested inside the other. The three golden coffins were encased in a granite tomb with four wooden shrines surrounding them.
How long does it take a coffin to rot?
The body tends to endure longer because oxygen cannot reach the corpse when the coffin is encased in a particularly damp, heavy clay earth. Decomposition takes less time if the ground is light, dry dirt. A body’s decomposition to a skeleton typically takes 10 to 15 years.
How much does a sarcophagus weigh?
A sarcophagus weighs 500 kg. The weight of a casket depends on the material. Most are made of granite, marble, or solid stone. Due to the weight and expense, other alternatives have been tried in recent centuries, including concrete or plasterboard lined with cotton wool or polyester resin.