
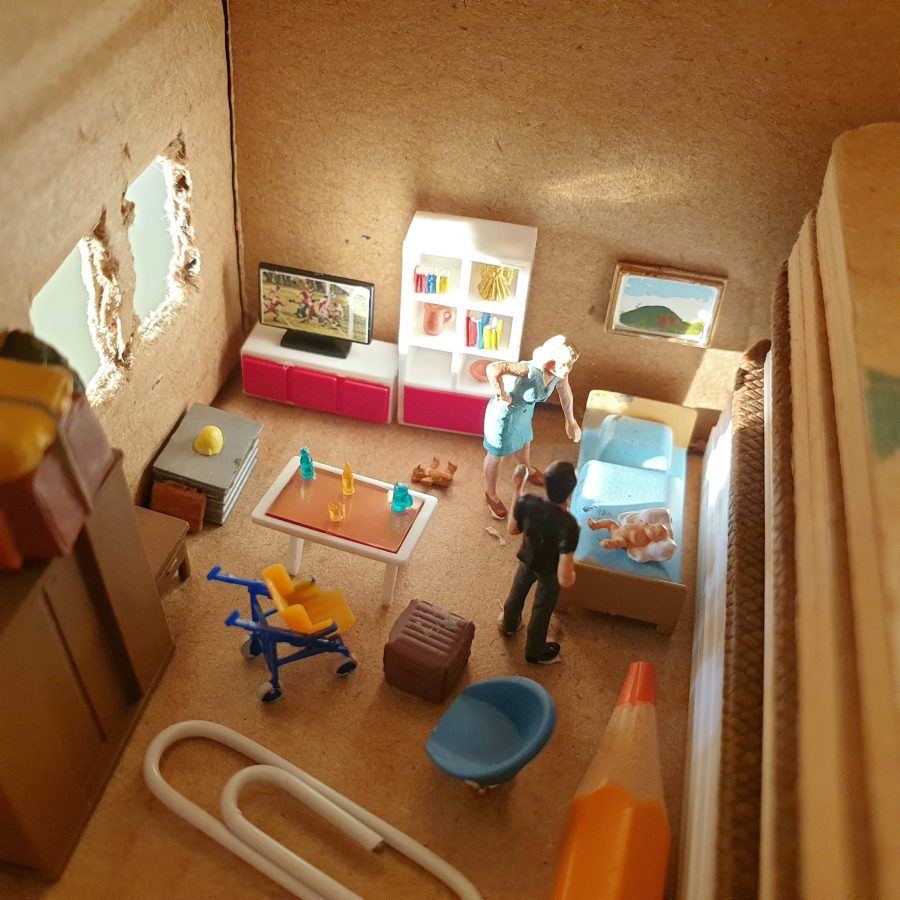
The typical shoebox diorama is a project for children, but it can be fun for any age. We’re going to have a look at how you can make your own shoebox diorama following these ideas. You will need few materials that are available at your home.
How To Make A Diorama Out Of A Shoe Box?
Before we get started, you should know: It is not necessary to use a shoebox. You can make the base and the walls of your diorama out of any container.
If you’ve ever been curious to make a small diorama from a shoe box, then this article is for you! In only a few steps, I’ll guide you through how to make a diorama out of a shoe box. The best part, you can do this in just a few minutes!
What You will need?
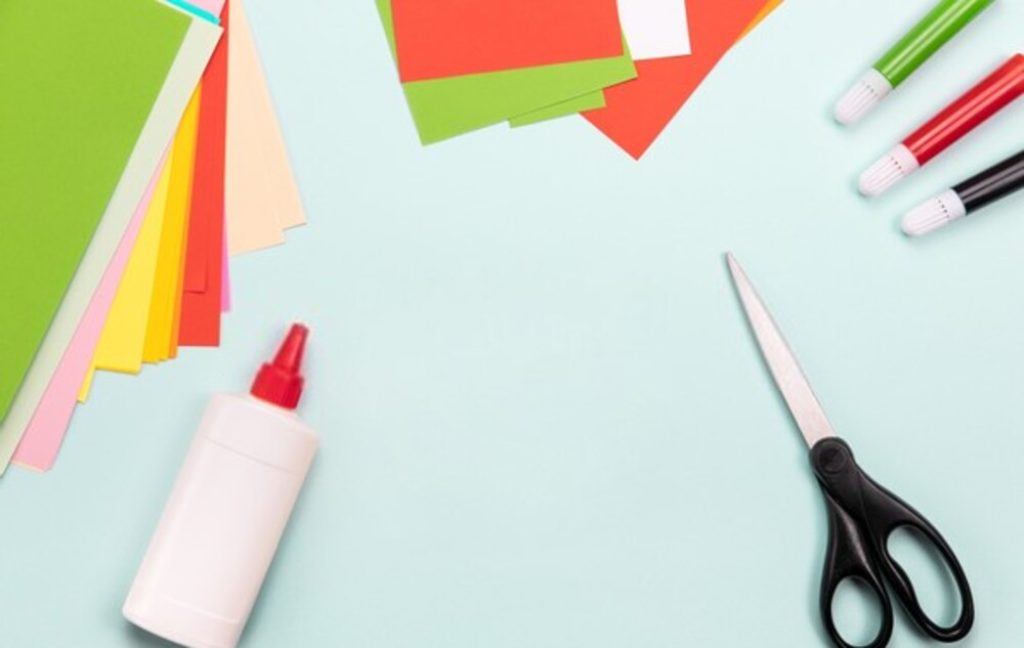
- A box of some type
- Scissors
- Glue – Optional but really helpful for this project.
- Paper, colouring papers, markers or crayons
- Construction paper
- Pencil and ruler
- Paintbrush
You can find most of these at your local dollar store or craft store. You will also need good lighting for this project so get an overhead lamp or simply use sunlight if it’s not too bright out(or if it’s night time).
Step 1: Create a Base
Make a base. If you don’t have a base already, now is the time to make one. We’ll be making a shoebox diorama so we need a container with sides, similar to a shoebox. Any container will work as long as it has something resembling sides and can rest on your table or desk. You can use a shoe box or any other container that you think looks better.
Cut out the bottom for drainage. The container must have a clear base, because you will be painting it with a color(and maybe marking on it). We will show you how to cut the bottom out of a shoebox in our video later. If your container doesn’t have a clear base, you must mask the bottom and paint around it. The color of the base depends on what effect you want to give to your diorama(eg: wooden floor for a forest scene, asphalt/concrete for urban/city scene etc.).
Step 2: Create the Background
Once you have your base, you’re ready to start making the background. Decide the environment that you want your scene to be set in, and gather your materials. For example: If you want a forest scene, gather some tree branches or leaves. If you want an urban scene, gather some cardboard scraps or torn magazine pages. You can also use construction paper to create any other background for your diorama. Simply draw it out on the paper and cut it out.
Now comes the process of arranging your background materials into an interesting composition that matches your vision for your diorama. Most important part while arranging is that all the elements should be arranged in a balanced manner so that whole composition appears balanced too.
Step 3: Make and Place Your Figures
Now that you have a background, let’s get down to making your figures. You can make figures out of anything you want. That could be paper, aluminum foil, dried beans… It all depends on what kind of figure you want to make and how much detail you want it to have. We will explain how to make a simple figure in our video, but after that it’s up to you!
Make sure that everything can be seen once your diorama is in the box because the sides will obstruct the view otherwise.
Step 4: Put it All Together
Now that you have your base, your background, and your figures, it’s time to put them all together! Be creative and use any other objects that you can think of. You can even draw or color on the inside of the box if you want to! If you want to paint on the inside of the lid like we did in our video, make sure that you mask off the area around the outside edges of the box before painting. Once everything is glued or taped down, take a step back and enjoy what you’ve made! You should start seeing an image forming. Add finishing touches if needed.
Applications for Dioramas
Dioramas are almost as useful as models, but they have a few more applications, which can be useful in everyday life. In this article we’ll give a few examples how dioramas might be used.
Example 1: Telling stories with dioramas
Sometimes the best way to tell a story is by making a diorama that represents a scene from that story. This works especially well if you want to create a little theater type of play with multiple scenes.
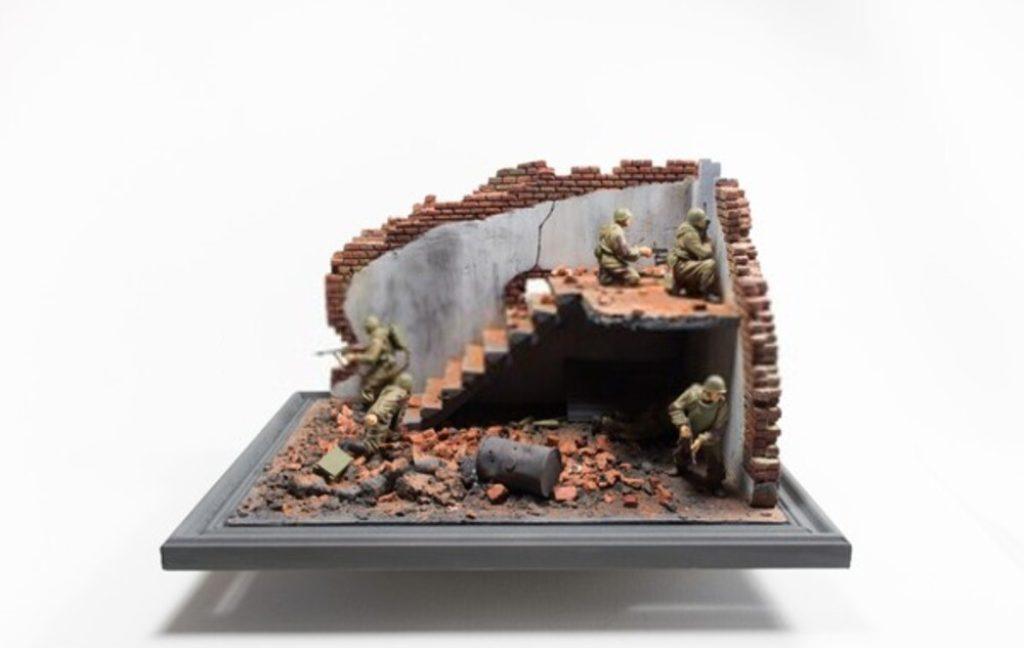
Multiple dioramas can be used to tell the story of a forest, a monster, an abandoned factory, or something else. Each diorama should have some sort of comparison between the real world and the imaginary one. A forest diorama combines two elements: trees and the forest; a factory diorama combines four elements: rusty machines, broken glass windows, broken cement, and metal pipes; etc.
Example 2: Use them for group activities
Even though they may look like toys for children alone (which is why most of them are made by children), these little pieces of art can be fairly useful in group activities as well. We say “fairly” because not all pieces are equally useful. Using a diorama to introduce a topic can be a great way to spark interest in your group. You can set up a simplified version of the topic so that each student can have their own diorama as well as share theirs with the rest.
Example 3: Use them for educational purposes
Think about what you learned from school and how you could use your creative skills to create something about the subject. The best way is probably by using a diorama instead of a traditional model to show things that cannot be adequately shown in a 2D model. Although this is definitely more creative, it can still be quite effective if you use it correctly.
Example 4: Book report
Kids love reading and not only because they like to read stories but also because they like to make things and play with them as well. The best way to do this is by using a diorama as the object of your book report.
Example 5: Role play

Roleplaying can often be done with a diorama as well. This is especially useful if you plan to do dramatic role playing because it makes it easier for you and your partner(s) to visualize what’s going on in the scene. It also helps if you still envision yourself as an actor in the scene so that your role playing will seem more realistic.
Example 6: Workplace simulations
If you work in a company, your job can also be simulated in a diorama. You can use pictures, pictures of people that you know from the company, or even pictures from the internet. Some students even take photos of their friends at work and create a scene from there. If you want to do this sort of simulation in a more competitive environment(like if you’re using it for school projects), we recommend signing up for the company’s website and taking pictures for your diorama there. This way they can’t deny that it’s “not something fabricated”.
Top 5 Ideas To Make A Diorama With Shoe Box
Here the list of some wonderful diorama projects you can get ideas:
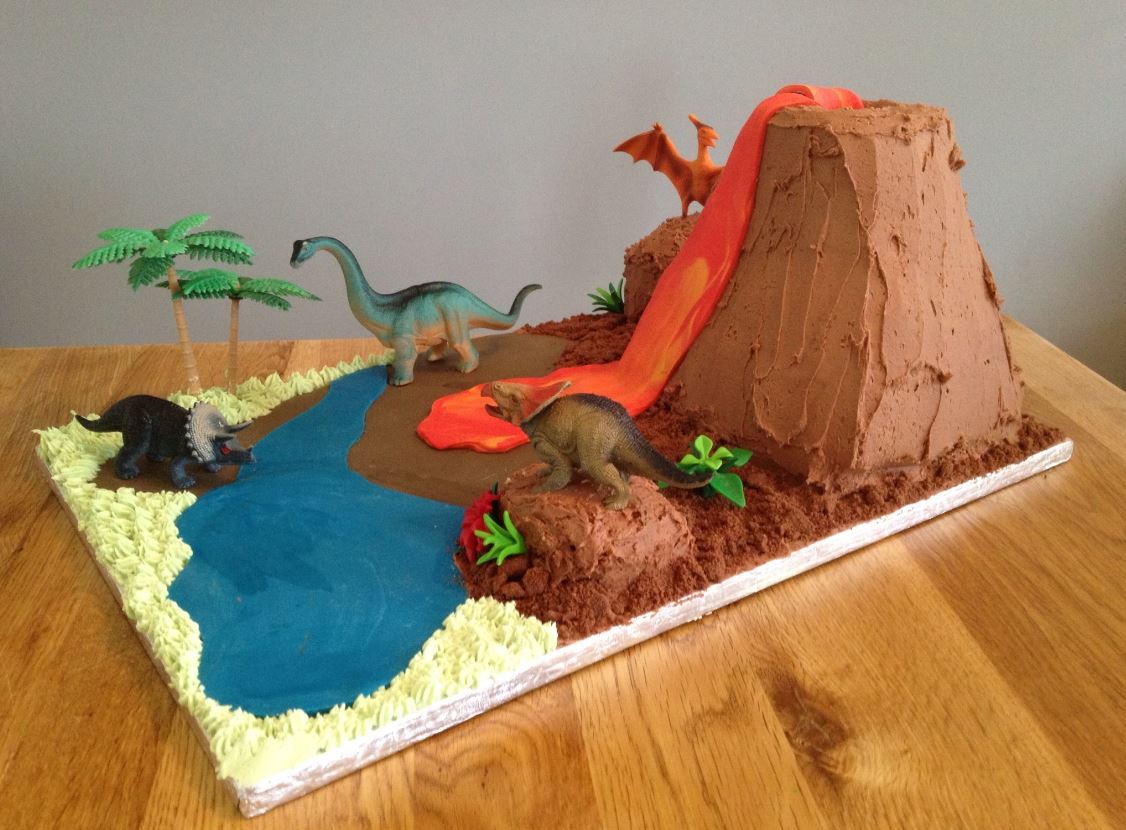
Sparkling Volcano Cake With Dinosaurs
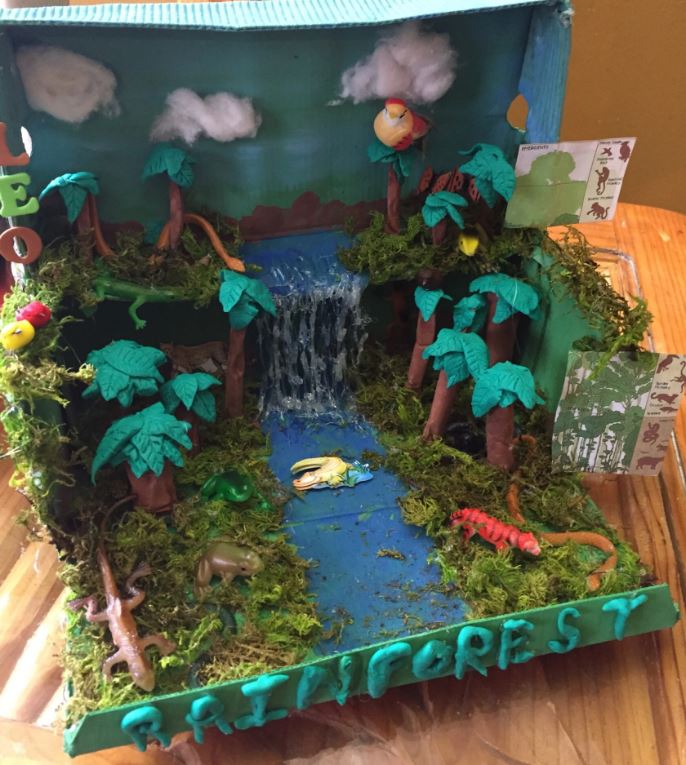
Rainforest Shoe Box
Nora’s Habitat Diorama – The Blue Whale

Jungle in a Box

The Doll House

FAQs
How do you make a simple diorama?
First you need to make a paper diorama of something (or someone) you want to show.
Next, take the shoe box and cut off the top of it about 4-6 inches down.
Put some glue on one side of the cardboard that is now exposed and put the cardboard back into the shoe box. Now glue paper that has been cut out onto each side you just glued down to make it look like there are mountain sides around your diorama scene.
You can glue little pegs into the soil to make it look like dirt. Then take the paper you glued onto each side of the shoe box and cut out sheets of newspaper (which will be put on top of the soil).
These go in the bottom of your shoe box under your mountain sides. You can also take little pieces of pipe cleaners and make some bushes to put around your diorama scene.
Then fill up your shoe box with water (hehehe, water table).
What can we make from a shoe box for kids?
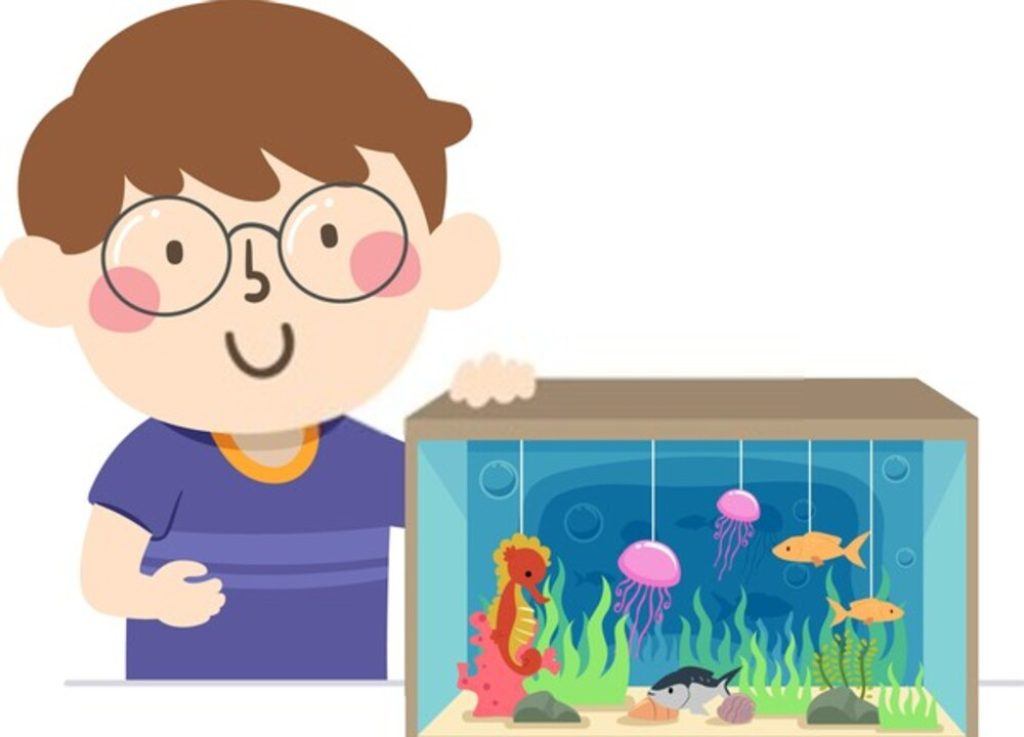
- Make a diorama of an ocean/ocean scene
- Make a car
- Make a rocket for outer space
- Make a castle
- Make an airplane