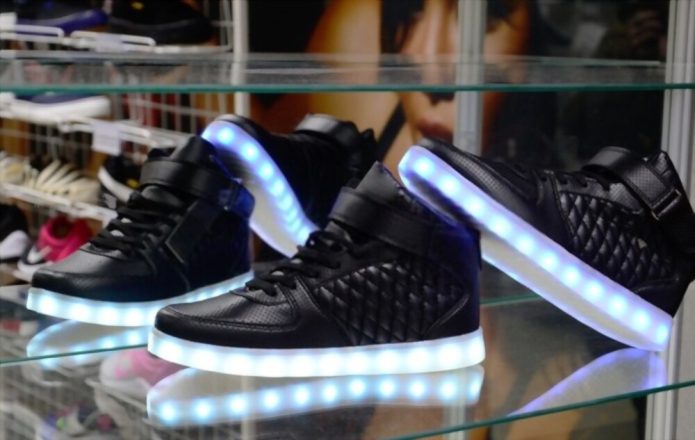
I have a pair of light-up shoes that need changing. I start there because it’s always easier to look for help when you know exactly the problem! So how do you change the batteries in your light-up shoes? We’ll cover learning by doing; this process may take some time, and try to make sure that even if something goes wrong, it should be an easy or quick fix.
Before we start, it’s important to note that this is a fundamental, if not somewhat advanced, model of how to change the batteries in your light-up shoes. It is by no means the only way to do so. There are many different ways to do it; I’m just giving you the basic steps that I used.
If you’re not confident enough in your abilities to change your light-up shoes, it’s recommended that you don’t do this on your own; take them to a local shoe repair shop.
While most modern light-up shoes are very durable, there is always the chance of breaking something in the process, especially with older models.
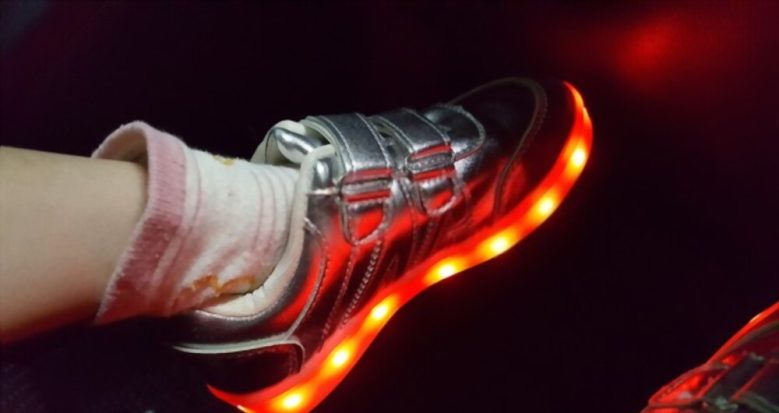
That said if you decide to go ahead and remove the batteries yourself, make sure to be gentle with the shoe itself; even when not powered on, it can be pretty fragile.
How Do You Change Batteries in Light Up Shoes?
Step 1: Look for a little horizontal tab or slot on the heel of the shoe
Look for a little horizontal tab or slot on the heel of the shoe. Gently press forward with the point of a tiny nail file or flat-head screwdriver against the tab or slot. If the shoe does not have a tab or slot on the exterior, you will need to remove the insole.
Step 2: Pull up on the heel end of the insole
Reach inside the shoe and use your fingers to gently pull up on the heel end of the insole. If the insole is stubborn to remove, slide the tip of a nail file or tiny flat-head screwdriver beneath the insole’s edge to pull it free; otherwise, you risk breaking a nail.
Step 3: Inspect the shoe’s inside near the heel, under the insole, for a rubber cover plate
Inspect the shoe’s inside near the heel, under the insole, for a rubber cover plate. If there is no cover plate, the shoe does not have replacement batteries, and you must decide if you would rather spend the money on a new pair of sneakers or let your child go without lights.
Step 4: Using the file or screwdriver, pry the battery, or batteries.
Using the file or screwdriver, pry the battery, or batteries, loose. The battery type varies according to the shoe; LED shoes run on AA, AAA, or watch batteries. If the shoe needs watch batteries, bring them with you to the shop to verify you obtain the right replacement since watch batteries come in a variety of shapes and sizes.
Step 5: Replace the battery in the shoe
Replace the battery in the shoe, firmly pressing the batteries in place with the tip of the nail file or screwdriver. Place the shoe on the floor and use your palm to lightly push against the inside of the shoe, near the heel, to test the new batteries. If the shoe does not light up, reposition the batteries.
Step 6: Close the battery compartment tab or replace the rubber cover on the inside of the shoe
Using the file or screwdriver, close the battery compartment tab; alternatively, replace the rubber cover on the inside of the shoe and press the insole back into place with your finger.
What are LED Shoes?
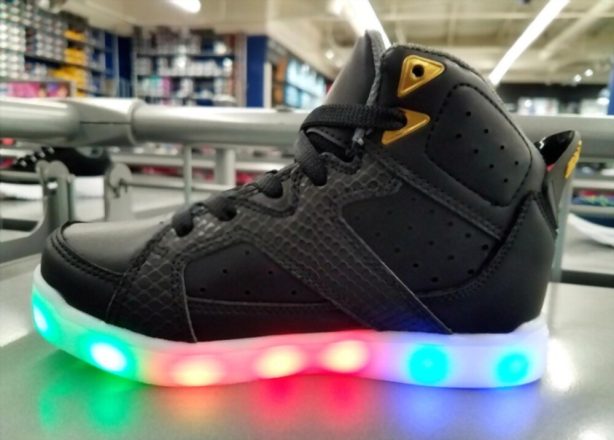
LED shoes are a new kind of footwear that includes tiny LED lights affixed to the undersides of the soles. In addition to providing a colorful, attention-grabbing effect, they also make you more visible at night and can provide an extra layer of protection from specific hazards.
To begin with, they can be helpful in several sports. They’re perfect for anyone who plays tennis since the lighted soles make it easier to track quick movements and can help you see the position of your feet on the court.
Many people also use them for running and jogging because they make it easier to see obstacles and changes in terrain. When running in dimmer conditions like dusk or dawn, having extra light under your feet can help keep you from tripping on tree roots and uneven pavement.
It’s also a good idea to use them when you’re walking to your car after dark since they can increase your visibility and make it less likely that you’ll be hit by a vehicle.
However, most people who buy LED shoes for casual use don’t do so because they’re in sports. Instead, they want something that will add a little bit of flash to their outfits.
Some people like the look of flashy high-top sneakers, for example, but don’t like how ordinary sneakers often clash with their clothing.
The History of LED Shoes
These colorful devices, which use small lights to make it look like your feet and legs are aglow, started appearing in stores in 2009. At the same time, there were a few predecessors to them, such as lights that clipped onto shoes or lit up the soles of sneakers, LED shoes to seem to be all that’s on the market today.
The first LED shoe was the Swan Sensitive Path. It used a spool of LED lights to mimic a small light underfoot and could be worn outside without fear of tripping over an obstacle.
People rarely wear shoes, so companies like Nike and Adidas were interested in seeing how the illuminated shoe market fared. They decided to create their own version, and Nike has been making shoes that diffuse LED lights since 2010. However, Adidas wasn’t far behind, releasing its first LED footwear in 2011.
Those two companies were joined in 2013 by Puma, which also produced its LED shoes. That same year, Sony came out with the SPD-Sports LED shoe and sold it to runners and people who thought they might enjoy glowing shoes.
In 2014, Skechers unveiled a line of lace-up lace-less or slip-on shoes called Cloudfoam Sneakerz, and in 2015 Nike released its first glow-in-the-dark sneakers: glow sneakers.
The glowing shoe market is big in Asia. According to a 2013 report from the Korean Chosun Ilbo, demand for shoes that glow in the dark is higher there than anywhere else.
In a 2012 report by the Associated Press, it was predicted that once people realized how easy it was to use LED lights on their feet, shoes would be using them as decoration more often.
LED lights are lighting up shoes worldwide, whether they’re meant for sports or not.
How do LED Shoes Work?
There are three major components in an LED shoe: the battery pack, lights, and battery pack wiring.
The battery pack is actually a mini hand-held flashlight, about the size of a small USB flash drive. It contains several LEDs that are powered by a rechargeable lithium-ion battery.
A pair of LED shoes contains eight individual LED lights that are on the bottom of the shoe, which are usually covered with colored rubber soles on both shoes.
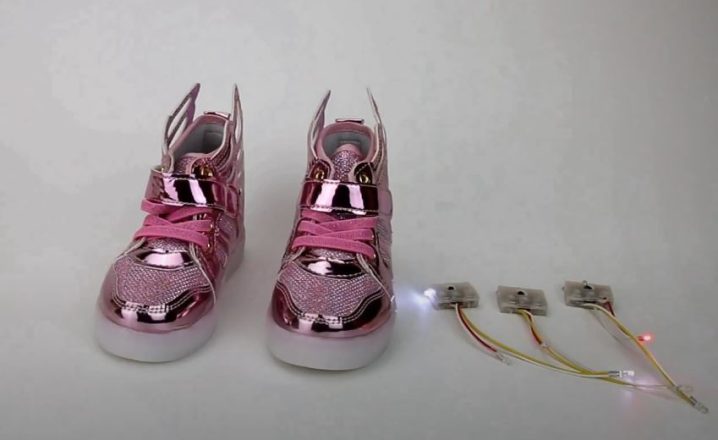
The lights on the bottom of the shoes are connected to the battery pack via wires that run through a hole in each shoe and attach to a plastic piece inside the shoe.
A closer look at the electronics in an LED shoe:
Once connected, these lights will turn on and off in sequence and also activate when you walk. The lights stay on for approximately 40 seconds after they’ve been activated until they’ve reached their highest power output.
When you put on your shoes, all you need to do is connect the battery pack and start walking! Your shoes will then illuminate and turn off in a steady pattern. This kind of process is called ‘Animated light technology,’ and it’s also often found in interior lighting in public spaces like nightclubs and bars.
As you walk in your LED shoes, their lights will react to each step in a unique way, creating patterns that are sure to capture the attention of anyone who sees them.
What Damages Your LED Shoes?
Heat
Heat damages LED shoes, and you should avoid wearing them when they’re in direct contact with your feet.
Do not wear LED shoes in a hot room or when sweating, and do not leave them out in the sun for long periods of time.
Heat is a major cause of damage to your LED shoes and can shorten their lifespan. If you see the damage, replace them immediately to prevent further damage!
Given that use of heat can lead to damages such as burns on the skin, melting the LEDs, ruining metals, etc.
Moisture
Moisture is one of the worst enemies for your LED shoes, which means it is important to make sure they are properly dried after each use. Here are a few tips from our blog on how to keep your LED shoes from becoming damaged in a humid environment.
How to keep your LED shoes from getting damp from being wet or moist
- – Make sure that the LED shoe is outdoors and properly ventilated.
- – Take care to wear rubber-soled shoes when walking around indoors, as most homes have slight dampness due to indoor humidity.
- – Protect the LED shoe’s electrical circuits by using conductive tape or duct tape to shield them from moisture. Check the status of the electrical circuits regularly for signs of exposure to moisture.
Impact
The impact is a common cause of LED shoe damage. Scuffs on the surface of the shoes, as well as scrapes on the straps, can disable a shoe’s light. In these cases, the LED lights will not be able to emit a bright enough light. To avoid impact damage to your LED shoes, make sure you do not wear them in situations where they could be exposed to impacts.
Metal conductive materials are extremely damaging to LED lights. Just being in contact with these substances can damage an LED light’s ability to emit light. This means that you should avoid wearing metal-conductive objects while you are wearing your LED shoes.
Any kind of dirt or dust can be very damaging to the life of an LED light. If you are wearing your LED shoes outside, make sure that you take good care of them while they are not on your feet by storing them in a clean place.
Excessive Use
Excessive Use Perhaps one of the most common mistakes is when people use their LED shoes too often. When your shoes are in the light, they heat up faster and hotter. This can cause them to stink faster, utilize more battery life, and eventually burn out without warning. In addition to this, your shoes can also get damaged from too much Use. To avoid this problem, try not to wear your LED shoes for more than ninety minutes at a time. This is to prevent the space around your shoe from heating up too much.
How to Take Care of Led Shoes
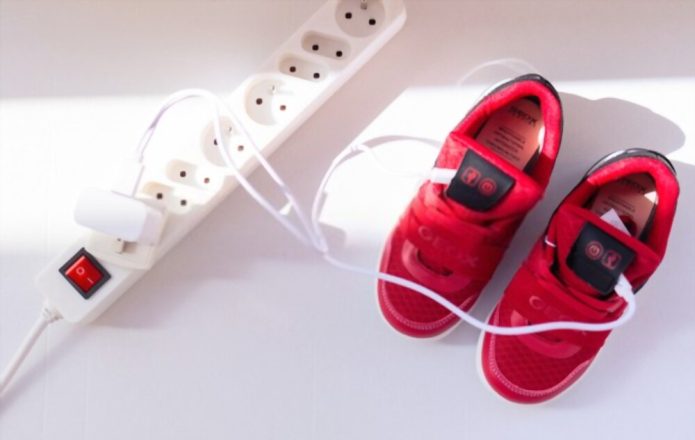
Suppose you’re one of the many who bought an LED shoe; congratulations on your purchase! These shoes are not only fashionable, but they stay charged for hours (sometimes days!) and can be turned on or off with a quick touch of your toes.
While these shoes are great for impressing friends, they’re not indestructible. Here’s how to fix them if something goes wrong.
Check the charge at all times to make sure it isn’t getting dangerously low.
If your LED shoes suddenly light up and die within minutes of each other, they’re most likely low on charge. Try charging them again to maximum capacity before wearing them out in public.
The switch means more than just turning your shoes on or off.
The switch is essential for equalizing the shoe’s charge. When you tap the button to turn them on, it not only turns on the shoes but also starts an automatic charging cycle.
Never charge your shoes longer than necessary.
Always charge your shoes for one to two hours at a time.
Regularly check the charge to make sure it doesn’t get dangerously low.
Check the charge periodically to make sure it is always full.
Don’t let the shoes sit for too long.
Please don’t leave them unattended or get buried in dust or other dirt, which will take out their charge and reduce their lifespan.
Clean your LED shoes before and after charging to keep them working as long as possible.
Clean your shoes every once in a while with alcohol or soap and water to remove any dirt and dust buildup, which can cause shorts in the electronics. Your shoes may even benefit from a good overcharge. If overcharging your shoes, try re-charging them for about 15 minutes instead of 30 minutes after you’ve done so.
Never wash or submerge your LED shoes in water
LED lights are not waterproof and will break if submerged in water. While shining a flashlight on your shoes may be fun, it can ruin the electronics inside. Wash your LED shoes with soap and water only when necessary, being careful not to get any water inside.
Even if you follow these steps, your shoes may not last long.
LED lights are not indestructible. It’s important to realize that no matter how well you take care of them, LED shoes won’t last forever. However, if you follow these steps and treat your LED shoes with care, they’ll last a lot longer than a non-LED pair of shoes.
If an LED shoe does go out on you, try to fix it.
Most LED shoes can be fixed by replacing the electronics and connectors. If you don’t know how to fix your LED shoes, bring them to a specialty shoe repair shop like Shoe Repair Guide for more details on how to keep your shoes working as long as possible.
Your LED shoes aren’t guaranteed to be water-resistant; it all depends on the type of material they’re made of.
Even though most LED shoes are made of plastic, they can still get ruined if they get submerged in water.
How to Repair Your LED-Lighted Shoes
Several steps may be taken to restore the functioning of your LED shoes, including the following:
Battery Replacement
This should be the first item you examine if the LED lights stop working. Inspect the shoes to see whether or not the battery compartment is accessible. Some batteries are accessible from the bottom, while others are accessible from one side on the heel.
Open the battery shell using a nail file, screwdriver, or knife to determine the sort of battery your shoes need. You may be astonished to discover that you already have the precise batteries lying around the home. If the batteries are one-of-a-kind, purchase them, replace them, and cover them again.
Reconnecting Light Emitting Diode (LED) Wires
If the shoes continue to be dark after changing the battery, it is possible that some cables have been disconnected. Investigate the inside wiring to see where a connection has been damaged.
It is possible that you will need to verify the connection between the LED strip and the battery. Additionally, the connections connecting the charger to the battery may be loose.
Occasionally, after removing the factory insole from your shoes, the wires may be accessible. Ascertain that the cables are in their proper locations and are not damaged. Once the wires are repaired, you should test the shoe before reinstalling the insole.
Strengthening the Connection
Occasionally, even if the connections and batteries are in fine condition, the LED lights will not illuminate. The issue might be traced back to a faulty connection. Occasionally, you may discover that the battery is not in contact with the terminal.
Begin by pushing down on the battery to determine whether the space between the terminal and the battery can be bridged. If this still does not work, use foam, cloth, cardboard, or a piece of stick to fill the space between them.
You may want to try using glue or epoxy to secure the battery in such a manner that it makes appropriate contact with the terminal. Bear in mind that employing glue or epoxy will permanently secure the battery in that place. When the time comes to replace it, you will have difficulty dislodging it. This should be the final selection.
If you are unable to repair the shoe on your own or are concerned about inflicting more harm to the shoe, pack it up and take it to a local shoe shop for inspection.
Your shoe shop attendant may notice other problems and assist you in repairing them. They may also advise you on how to maintain the functionality of the LED lights on your prized LED shoes.
FAQs
Is it possible to machine wash light-up shoes?
Additionally, our light-up shoes are built to withstand everything you throw at them — all of our Made2Play LED shoes are machine washable, and our M2P Phibian light-up shoes are safe for pools, lakes, seas, and all other wet adventures your child faces.
How do glow-in-the-dark shoes work?
Individual solid-state colorful LEDs are sewed into the top fabric or implanted in a transparent rubber window in the heel of light-up shoes. The circuit, sensor, and battery are all concealed inside the sole to avoid irritating the wearer’s delicate foot. LEDs extracted from flashing shoes.
What kind of batteries are used in illuminated shoes?
Batteries for Skechers Light Up Shoes These sets include around 150 different varieties of illuminated footwear. Numerous of these models are powered by Ni-Cad batteries and have flashing lights. Ni-Cd batteries are a popular rechargeable battery type.
How are your LED lights recharged?
Each battery pack is equipped with a red LED indicator light to indicate that it is powered on. Connect the battery pack to the charger and ensure that the charger is connected to the wall. It will take eight hours to completely charge an empty battery pack, so please plan ahead!
Are wash-led shoes dangerous?
Your shoes may be dangerous if they’re not dry when you put them on. This can cause foot problems, including pressure ulcers. The National Pressure Ulcer Advisory Panel recommends that people take their shoes off, preferably in a warm room with at least one hour of drying time. However, if your shoes are still damp after an hour of drying time, you should wear fresh socks or sports sandals for at least two hours before putting your wet footwear back on.
How long do light-up shoes last?
It depends on how much you use them. If you use your light-up shoes three times a week, they should last around six to eight weeks. If you use them all the time, they might not last too long.
How much does it cost to buy light-up shoes?
Stores charge anywhere from $99-200 dollars for these types of shoes. It really depends on what features are included in the shoes, like how many light patterns or duration settings there are.
Are LED light shoes safe?
If you’re wondering whether LED light shoes are safe because they’re powered by electricity, the answer is yes! LEDs are considered to be one of the safest types of lights to use due to their minimal heat output.

